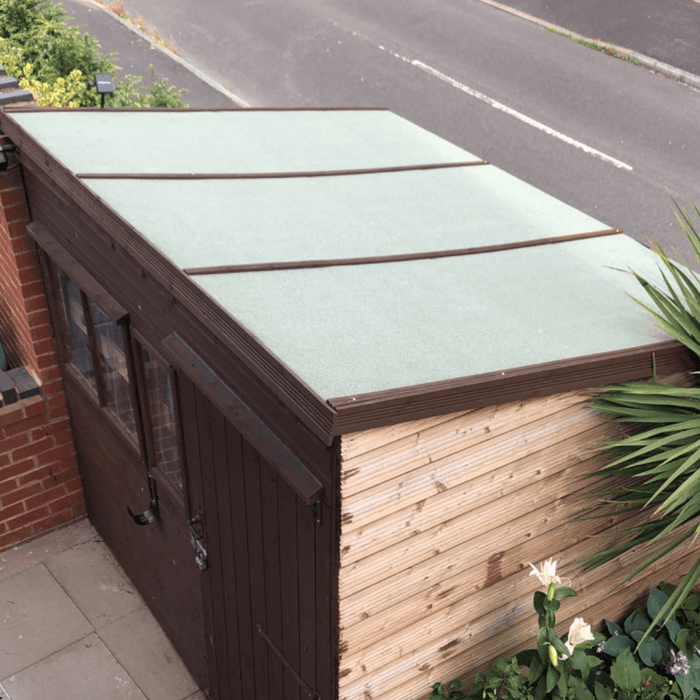
Re-felting your shed roof is a pretty straightforward job. Just make sure that you do the right preparation before starting. Oh, and remember to check the weather is going to be fine and dry. Ideally, the air temperature should be above 5°C.
You’ll need some felt shingles and some basic tools:
Access to your shed roof is needed to carry out the waterproofing. You’ll need a good ladder or a tall step ladder. Be sure the roof is strong enough to work off when you’re cutting the roofing materials. Think safety first.
When cutting your shingles, make cuts on the ground. Try to find an even base to do this on. lay your feet out, around 30 minutes before you need it, so it has a chance to flatten out. A wooden board is best because it’s flat, and even, will prevent tears in your felt and protect your lawn from any chemicals that might leech out of the shed felt.
Replacing The Old Damaged Felt
You may have to remove timber fixing strips first, do this carefully if you want to replace them after you add your new felt. Remove the old roofing felt and check the surface of the roof. Hammer down any uneven boards and make sure any protruding nails are removed or knocked-in flat.
Then fit your shingle underlay onto the exposed roof. Ensure that your underlay extends beyond the edges of the roof by around 50mm. The underlay will be applied in strips, with each strip overlapping the previous one by at least 75mm. Then turn down the edges and nail it at 500mm centres.
Preparing The Roof for Felt Shingles
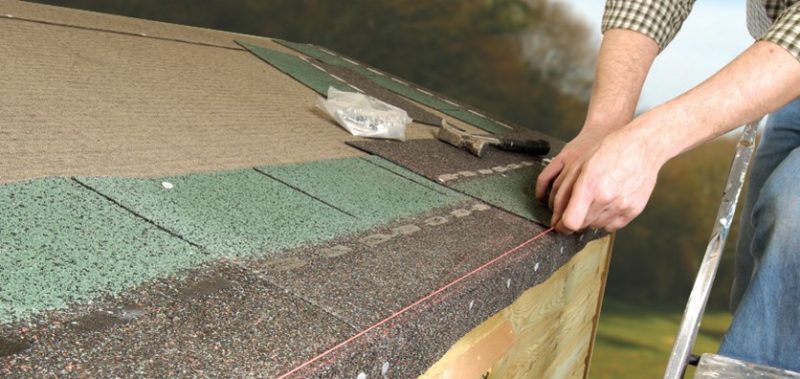
Next, you need to make shingle strips for the roof edges. Cut off the tabs from a single shingle strip to create the detailing pieces.
A useful tip when cutting shingle strips is to ‘cut from the back’. This should allow the membrane to fold and separate easily. The shingle strips should be laid on the roof, extending 50mm over the edge of the roof, and then nail them down at 50mm centres.
Be aware, when folding the edge pieces and in cold conditions, you may need to warm the material first to make it more supple and pliable.
At the corners of the roof, cut the roofing shingles to create an overlap when Folded around the corner, then nail this into position.
Fixing The Felt Shingles in Place
To set the first row of shingles you will need to trim some material from one edge of the shingle strip before fixing them at the eaves. With the square butt shingles, this should be 125mm. Or if using fishscale shingles, trim off 100mm. You’ll need to do this for all odd-numbered rows.
The shingles do have a self-adhesive bitumen peel strip on the back. This will adhere and bond over time during the warmer months. Manufacturers recommend that you should leave this in place until just before you are ready to fix the shingle strip to the roof.

Nails and adhesive are required to fit the shingles initially. Use bituminous lap mastic to seal each tab at the lower edge of the roof and apply a continuous bead, 25mm from all perimeter edges. This helps to provide added security, particularly in exposed locations.
Use whole shingle strips for the second and all even-numbered rows to create a staggering effect from 25mm above each cutout and 25mm in from each edge.
The bottom edge of each should just overlap the top of the cutouts in the shingles beneath it. For square butt shingles, there should be about 145mm of each tab exposed. Or if you’re using fish-scale shingles, leave 135mm.
Once you have added the shingles to both slopes of your roof, you should be ready to apply to ridge detail. For this task, you can use traditional shingles cut to shape or a shingle ridge roll.
Felt Roof Ridge
Measure the distance between the final courses of shingles on either side of the roof in order to ensure that there will be sufficient overlap of the ridge detailing membrane. On the final course of shingles make sure that no more than 145mm (135mm for fish scale) of the tab will be exposed once the detailing ridge material has been applied.
To carry out the ridge detailing cut the individual tabs from a strip mitred by 40mm. On the roof again use a chalk line or straight edge to ensure correct positioning and alignment. Starting at one end locate the tap with the mitred edge, pointing along the ridge. Nail into position, ensuring that each ridge shingle overlaps the previous one, exposing about 145mm.
To seal joints and openings apply a bead of lap mastic around the perimeter edges of overlap sections. On the last cover strip, apply an extra bead to ensure a secure bond.
Ashbrook Roofing feels sure that you’ll agree, that a few hours of work to fit felt roof shingles will dramatically improve the look of your shed and not only increase its lifespan but protect its contents from the worst of the British weather.
For a visual representation of what you have just learnt: Click Here
Ashbrook Roofing is an experienced roofing company, not only sells a range of shed felt but we also have a team of roofers using it on buildings across the country. For more information on shed roofing materials, get in touch.
You may also be interested in:


